Insert and configure form
If forms are available, they can be inserted on pages. There are two steps to do this: First, the form is inserted in the page, and then it is configured.
In this tutorial we will show how to insert and configure a form on a page.
Overview
Select the Page module to insert a form on a page. All explanations in this tutorial are performed in this module.
Quick access instructions
Insert form
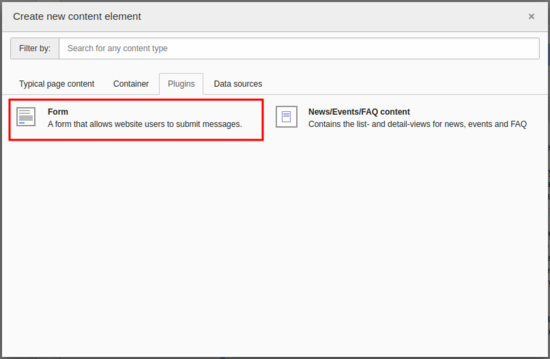
A form can be inserted on a page like any other content element. The corresponding content element is located in the Plug-Ins tab in the "Create new content element" wizard. Select it; you will now be taken to the new plug-in.
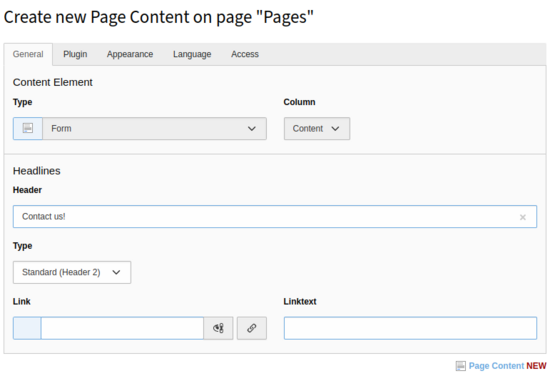
In the General tab, only the heading can be defined for a form. Next, the form plug-in can be configured.
Configure form
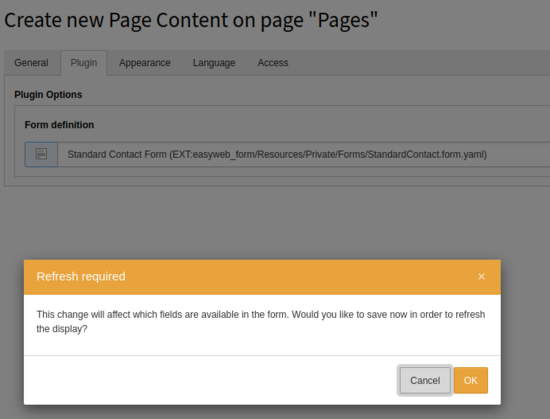
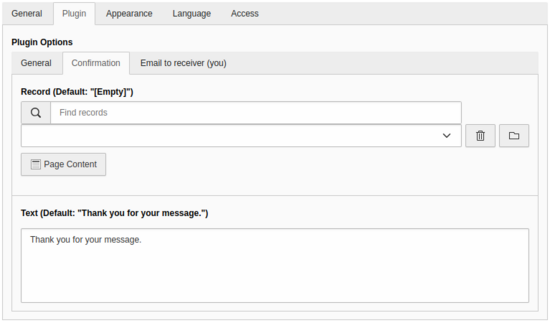
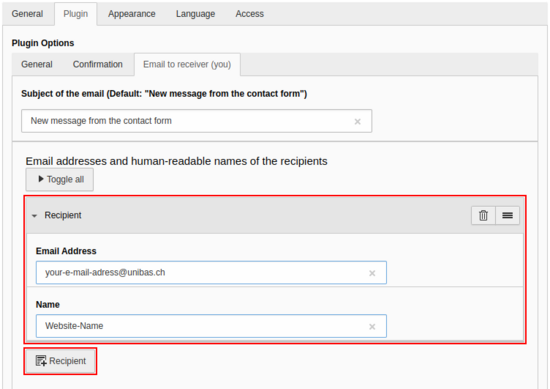
When a form plug-in is newly created, no form is selected yet. In the Plug-In tab, select the appropriate form. You will be prompted to confirm the selection. After confirmation, the finishers can be configured. Normally, the finishers should already be correct, but they can be overwritten locally.
Quick guide: All in one
The following six steps allow you to insert and configure a form. As an example, a form is used where "Confirmation message", "Email to receiver (you)" and " Email to sender (from submitter)" are selected as finishers.
Below the images you will find the corresponding explanatory text.


